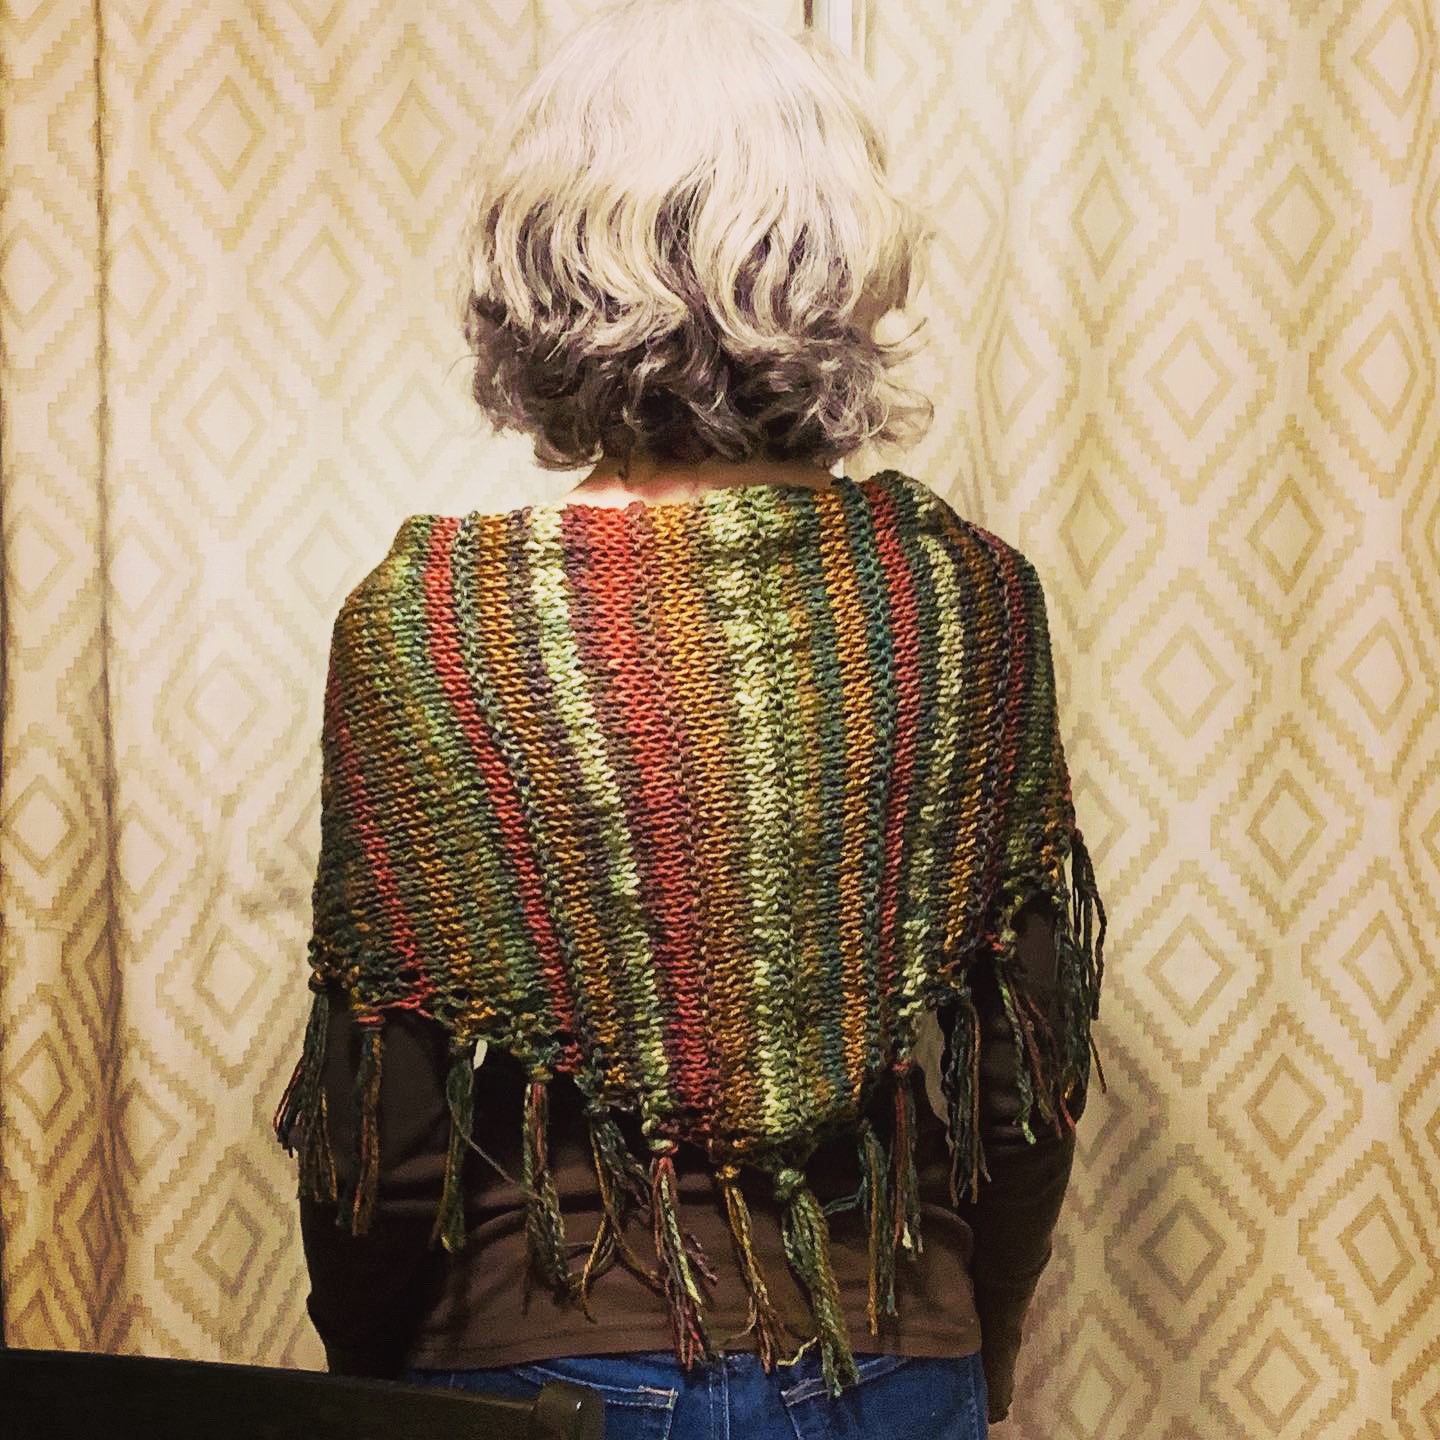
2019 version in fall colors!
Knitted side to side, this triangular scarf/shawl was inspired by woven garments I saw for sale during a recent trip to a craft village. Besides the “main color” of dark grayish-blue wool, I used three novelty or fashion yarns in a consistent repeat throughout – for the trial model. The second time, I used a color-changing acrylic-alpaca blend (“copper rose” Andes Alpaca by Yarn Bee) as the main color, and contrasting colors in brown, taupe, and tan shades. Making some style decisions as I went, I made a garter ridge on the right side in every fifth set of main color rows, just to break up the V look of the stockinette stitch.
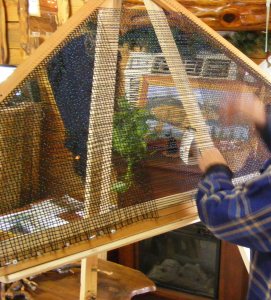
Weaver stands in front of triangular frame made of wood and nails, working weft yarn in vertically through horizontal warp. (There’s our mini lesson in weaving terms.)
After visualizing the shape and doing a little pattern research online, I devised an approach intuitively, increasing the number of stitches at the beginning of right-side rows to “grow” the shape downward from one end of the knitting – while cutting the working yarn after every two rows. This design has the clever and convenient feature that all yarn starts and stops become instant fringes!
Most of us love frequent color changes in a knitted piece that uses various yarns – but what an annoyance it is to have all those yarn ends to weave in! This shawlette design eliminates all of that hassle even though the yarn changes every two rows.

No ends to weave in, even though the yarns change many times! All yarn ends become instant fringes!
Instant fringe
No ends to weave in – hallelujah! (Except for cast-on and bind-off ends, and I think I can handle that.) As I worked, I knotted every 3 start-stop sets of ends (6 strands) together as one tassel. This is illustrated a little farther down.
Approx. height of finished garment (net of fringe): 14-15″ (48 sts on size 11 needles)
Approx. width: 49″
A “cross” between a shawl and a scarf
I first wanted to call this project a “sharf” – a bit long for a scarf, a bit short for shawl. Ultimately, I decided “shawlette” was a prettier word, and more descriptive.
In the photos, notice this accessory can be worn as a typical shawl, tied in the front, or “backwards” with the center point placed in front, like a bib, and the narrowing ends wound once around the back of the neck so they hang at the sides, in front.
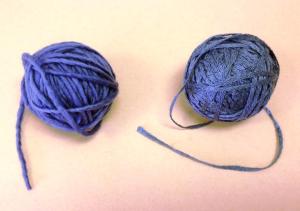
MC and CCs
Here are the yarns I used. I had bought two large hanks of the Maxima brand merino wool that is my MC (main color), so there was no doubt I’d have plenty of that yarn; then, I rummaged through my yarn stash to find three random novelty yarns that coordinated.
MC (wool) and CC1 – I just noticed that CC1 is the same flat cord I used to make one of my “teacup” charm bracelets described on this page – so now I have a shawl and a bracelet that coordinate perfectly!
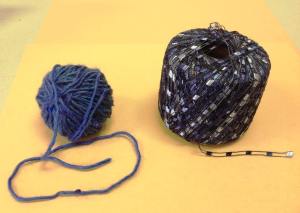
CC2 and CC3
The 3 CC (contrasting color) yarns may be described as follows:
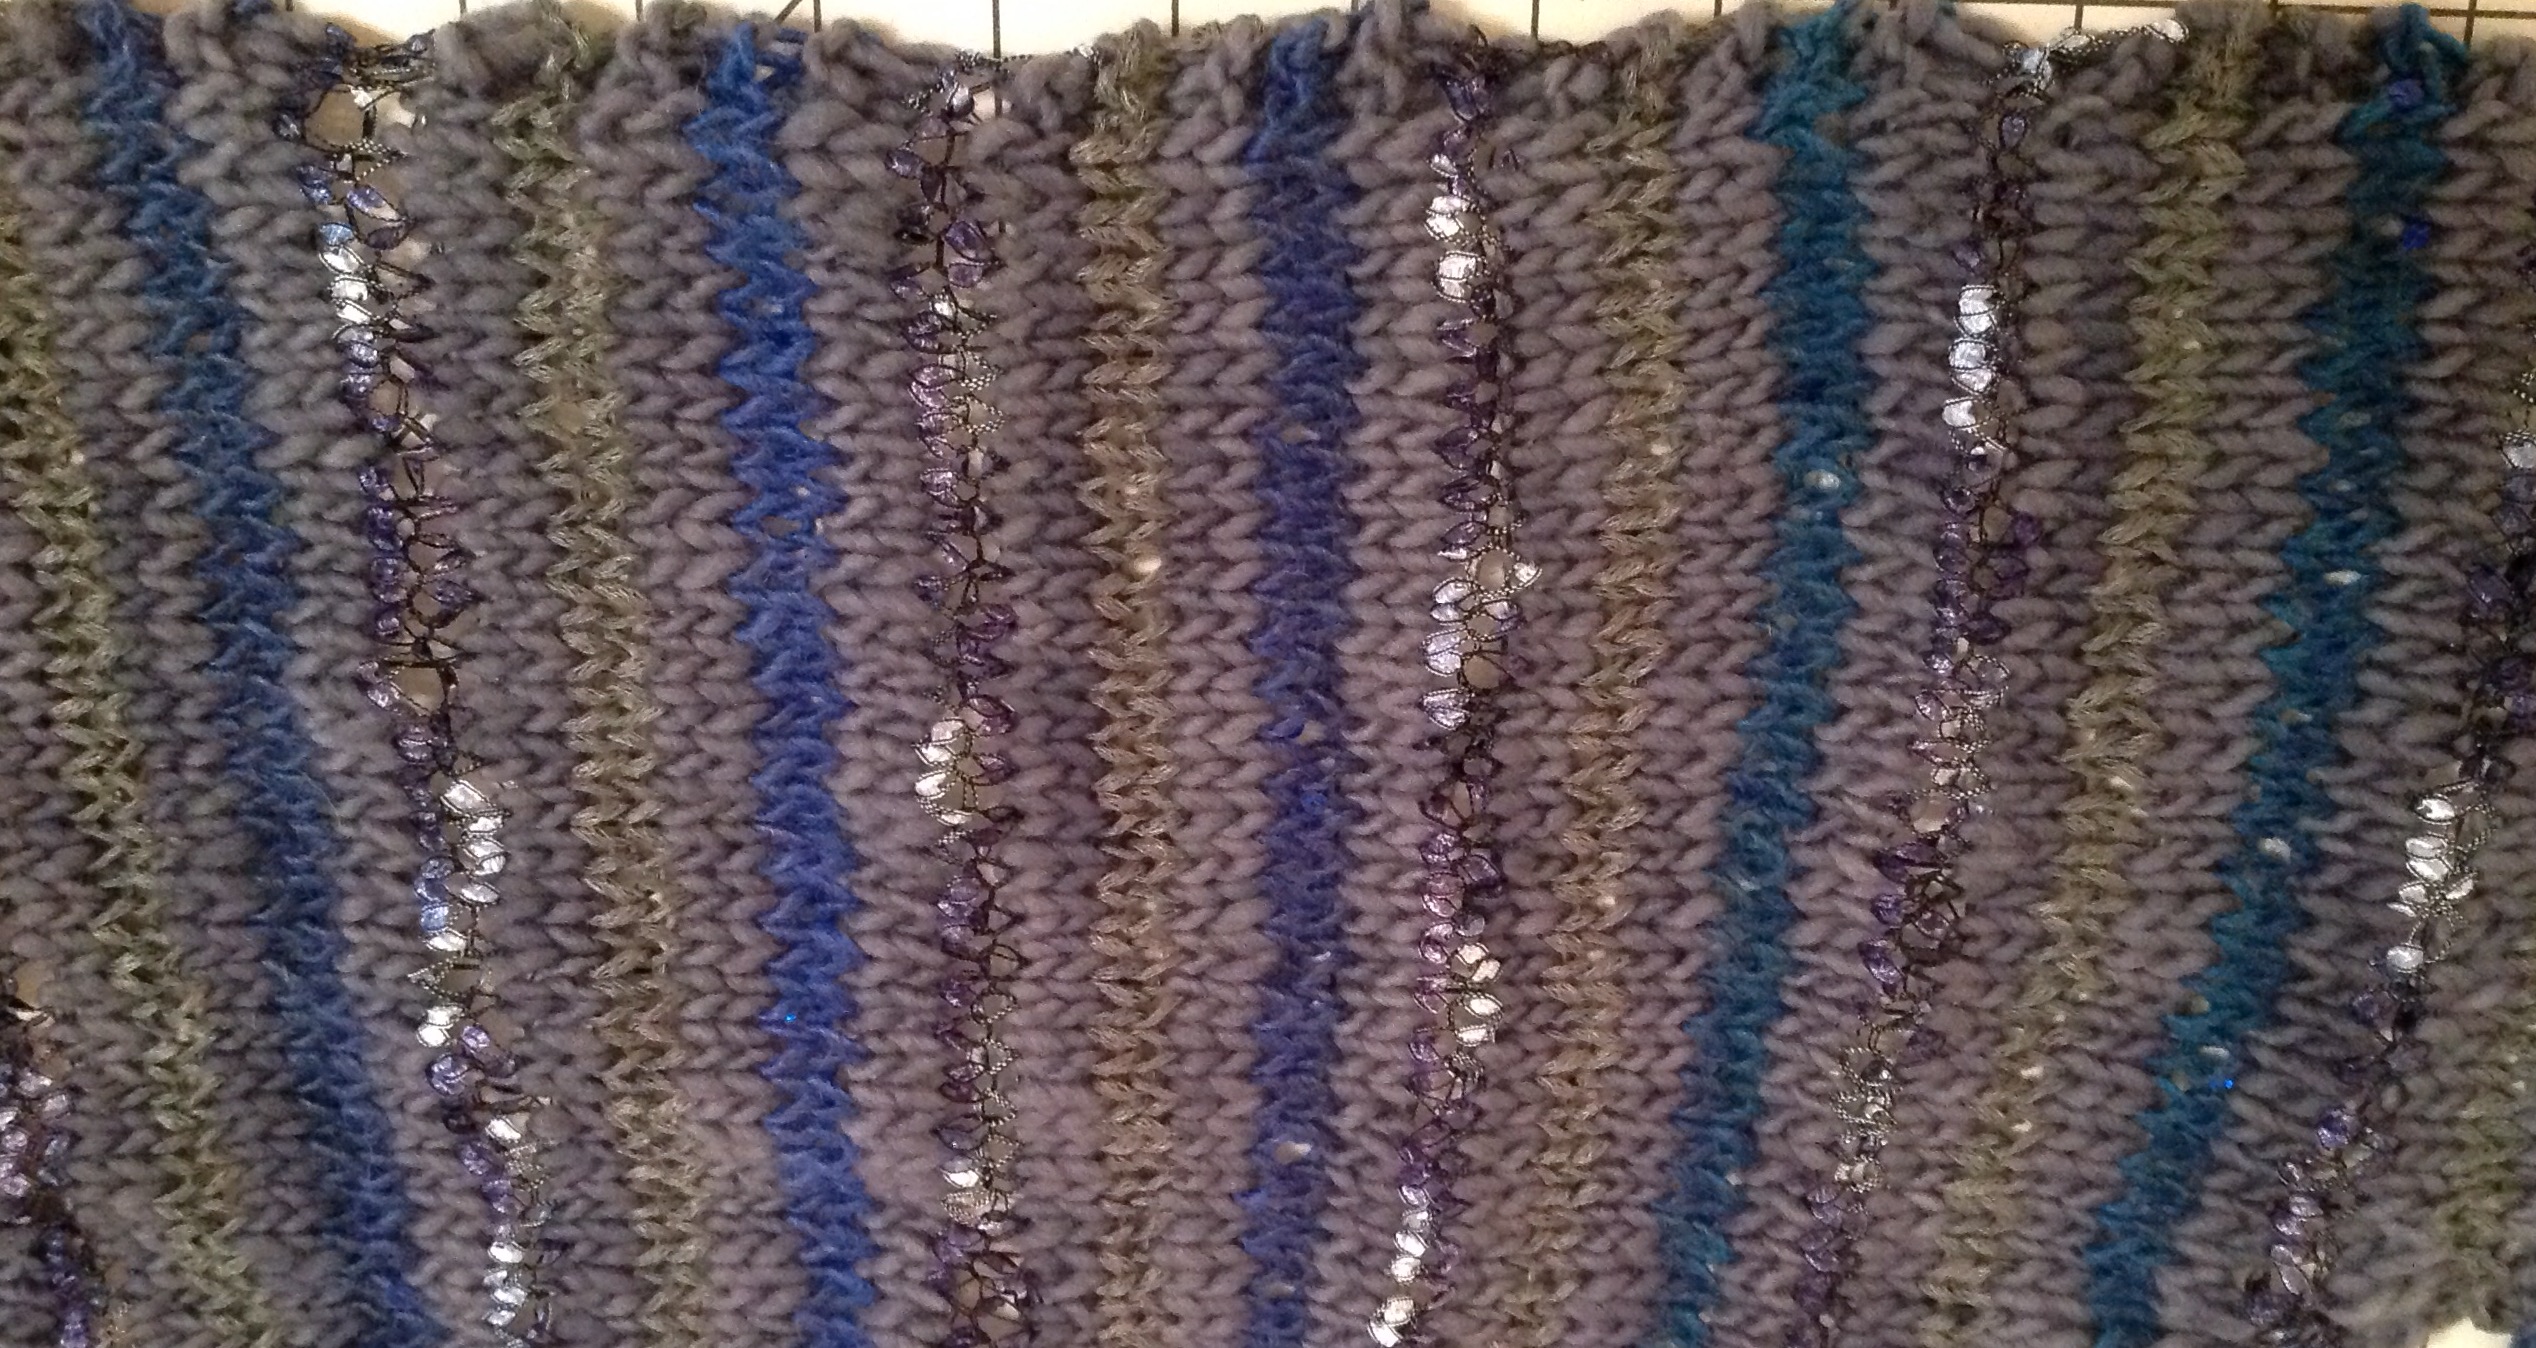
CC1. A nylon-type of flat braid – it’s a grayish teal and actually looks quite green next to so many shades of blue
CC2. A semi-fine acrylic blend novelty yarn with tiny sequins at intervals – I didn’t realize until I was finished with the project how this yarn changed color back and forth between cobalt and dark teal
CC3. A nylon sort of ribbon with little colored “flags” or “ladder rungs” spaced evenly, in colors of white, ice blue, cornflower, and navy
If I had been sure of having enough of the three novelty yarns (I had just one ball of each), I might have made this first attempt taller and wider before establishing the midpoint (at 48 stitches) and starting the decrease rows. However, as beginner’s luck would have it, the shawlette turned out to be a pretty good size! You can see the midpoint marked in the photo below with a circle of yarn just at the 24-inch point on the yardstick. At the lower edge, decreases to mirror the increases have begun in order to reverse the shaping toward the other end. It’s downhill from here!
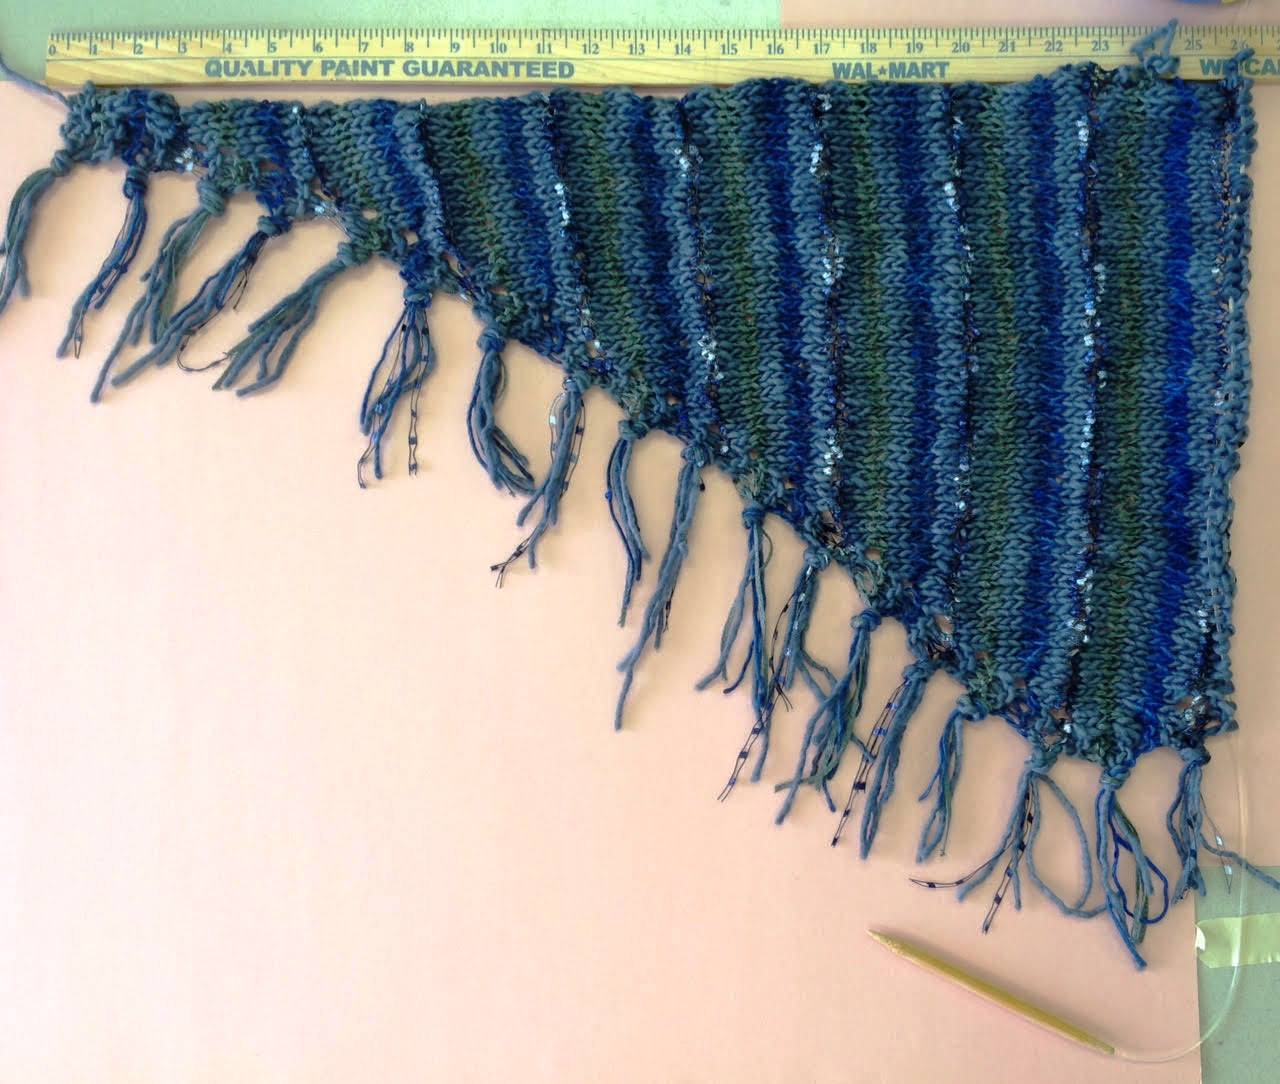
Just a bit over halfway done!
I used size 11 needles, straight at first and a longer circular needle when needed. In retrospect, I could have stayed with straight needles the whole time, bunching the stitches up; however, that would not have allowed me to stretch the garment full-size as I was working, in order to gauge where the midpoint would be. I plan to make another shawlette very soon and stay with straight needles the whole time, now that I know my max height can be 48 stitches.
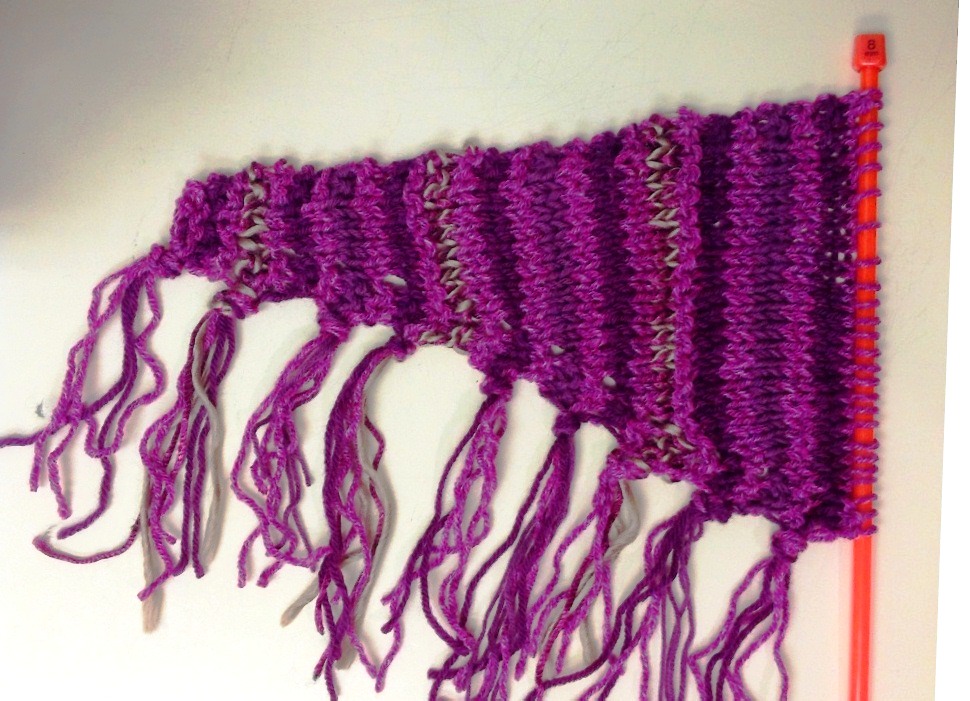
Here is one more photo. This version I have just begun, in purple shades:
Interested in trying this “shawlette” yourself? Instructions right here:
With MC and size 11 straight or 24″ circular needles, cast on 3 sts using long tail cast-on and leaving at least a 6-7″ tail.
Row 1 (RS): With MC, K2, M1, k1. (4)
Row 2 (WS): Knit 4.
Cut MC off, leaving a tail of 6-7″.
Row 3: Begin a row with CC1 as instructed below in bold.
NOTE: from here on, until or unless instructed otherwise, work (2 rows MC, 2 rows CC1, 2 rows MC, 2 rows CC2, 2 rows MC, 2 rows CC3) repeating sequence in ( ) and always increasing with a yarnover after the first 2 sts of every RS row with every CC yarn. Carefully read instructions to note where additional increases begin in the MC rows using the “make one” (M1) technique.
Change yarn every two rows by introducing the next yarn “loose” with a 6-7″ tail – don’t tie it or splice it to any other loop or previous end tail.
When finished working a RS row and a WS row with each new yarn, snip working yarn away, leaving a tail 6-7″ long (same length as starting tail). With medium-firm pressure, tie the start and end pieces of each set together in a simple, single knot (cross over, loop through, and pull snug but not overly tight). This is the basis of the “automatic fringe” being created as you work.
Row 3 and all following RS rows until row 23 – or until you have 10 stitches
If a MC row, knit all sts.
If a CC row, K2, YO, knit to end of row.
Row 4 and all following WS rows until midpoint:
K2, purl to last 2 sts, k2.
Starting with row 25 (or when your stitch count has reached 10) and all RS rows until midpoint:
If a MC row, K2, M1, knit to end of row.
If a CC row, K2, YO, knit to end of row.
My midpoint was when my stitch count reached 48. On the trial model (blue garment), I immediately began decreasing. However, putting a little more thought into the visual symmetry of the pink and brown shawlette, I worked a center section of 10 rows inside 2 garter ridges of main color, then began to decrease while exactly reversing the color sequence. In addition, I used one of the CC yarns – the one that appears darkest brown in the photos – in between every occurrence of the other two CC yarns. Thus, my sequence was MC, CC1, MC, CC2, MC, CC1, MC, CC3, MC, CC1, etc. See photos:
These instructions look complicated, but, believe me, you will soon get a real understanding of the progression and not have to refer to the instructions very much. It’s essentially simple and very repetitive.
Make tassels as you go
After you have completed three separate yarns (6 rows), gently hold all six ends out straight and tie them as one, once around, into a snug knot. Below, you see the last 6 yarn ends lying free. In the left photo, I have already tied the CC1 and the MC; in the right photo, I have just tied the blue sequin yarn ends together (CC2). I now have a set of 3 yarns or 6 yarn tails.
Now, gently grasp all 6 ends and tie them into one big knot to make a tassel. (You can see I had already switched back to my straight needles. I was past the midpoint and had decreased down to 41 sts when I stopped to illustrate this step.)
Decreasing
Once the max height and half the width are reached (I decided my midpoint was when I had 48 stitches), you might want to mark the upper edge with a piece of spare yarn to indicate the midpoint. I didn’t have a contrasting color of yarn handy (red or pink or yellow or white), so I tied a loop of the MC wool through a stitch at the upper edge. You can see it at the 24-inch mark on the yardstick. Temporarily marking the midpoint is entirely optional and may not help you, but it can’t hurt. You might decide to attach your personalized knitting label there when finished. I actually chose to put my label about halfway between the end and the midpoint. Photo is a little farther down.
On next RS row after your max number of stitches is determined (or after you work up to 10 rows even), begin decreasing in the following manner:
If a MC row: K2, k2tog, knit to end of row. The next row, a WS row, will continue to be as before, knitting 2 stitches each end and purling all interior stitches.
If a CC row: K1, k2tog, YO, k2 tog, knit to end of row. Note that this is the same reverse shaping used in the classic diagonal dishcloth pattern.
Once you are down to 10 stitches, stop working any decreases in MC rows and continue decreasing by one stitch in every RS row of all CC yarns. Before you reach the final section of Main Color, you should be down to 5 sts. Introduce MC and knit across; next row, K2, K2 tog, K1. Bind off row: K1, K2tog; remove 1 stitch; knit last stitch; remove 1 stitch; cut working yarn and run through last loop. Secure.
Make final tassels and weave bind-off yarn tail in invisibly (unless it works to include it in the last tassel).
Trim tassel strings as little as needed. If all six strings of every tassel are the exact same length, that will probably look a little too neat.
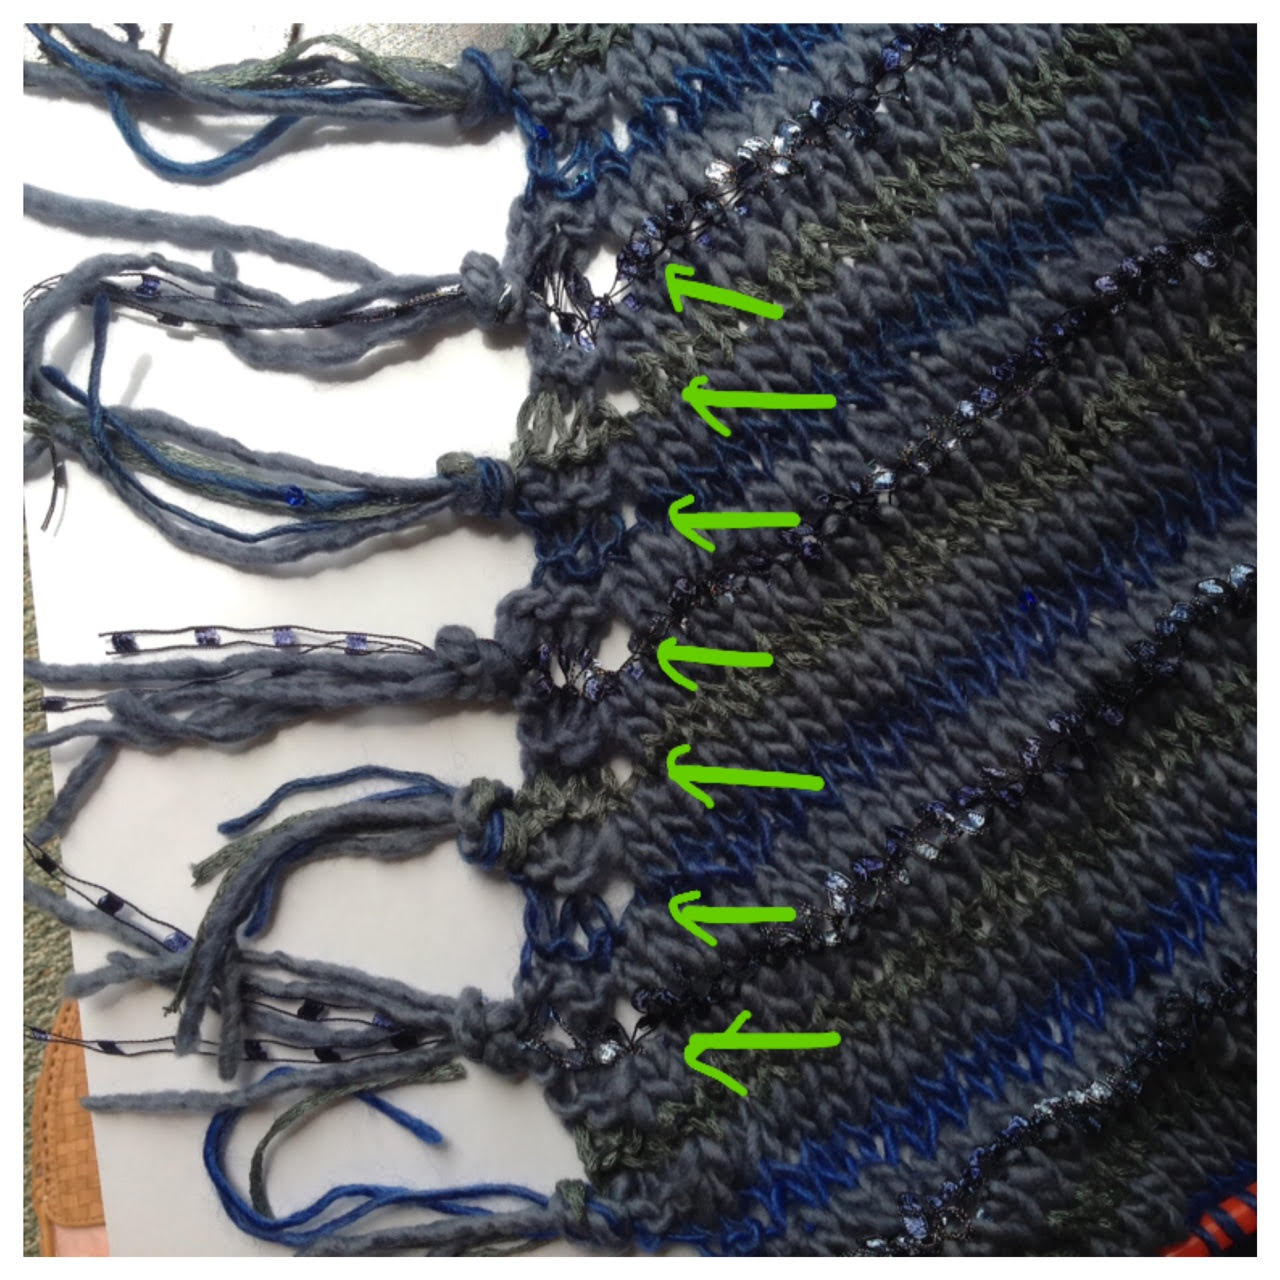
Decorative holes along lower edge, caused by the yarnovers
I slipped a piece of white paper under my shawlette to show up the holes created by yarnovers. These should be spaced evenly, all along the lower edge, every 4 rows.
After much consideration, I attached my label, by its upper corners only, at an interior point – not center front, and not too close to an end, to lessen the chance of its showing (or showing through) when the garment is worn.

I began this project on a Sunday evening and completed it by Thursday evening, being 99% satisfied with the symmetry and the accuracy of the instructions I made along the way. The next go-’round (the shawlette you see pictured in pinks and browns) went even faster. I made the whole thing over one 24-hour period. Next, it’s more soft brown tones and a lovely, light “robin egg blue” – #excited !! Find more photos in the Picture Gallery.


